Naviqasiya menyusu
Maddi işləmə dünyasında, Səmərəlilik və təhlükəsizlik paramountdur. Güclü və etibarlı bir tüfəngli elektrik qurğusuna, davamlılığı və performansı ilə tanınan bir iş mərkəzinə investisiya qoydunuz. Ancaq tam potensialının kilidini açmaq üçün, Hərəkət etmək lazımdır. Trolley'in içəri girdiyi yer budur.
Onlayn söhbətTable Elektrikli Alov Trolley'in Məclisi kritik bir addımdır. Düzgün edildi, Hamarlığı təmin edir, seyf, və i-şüa boyunca səysiz səyahət, güclü bir qaldırma vasitəsini çox yönlü bir idarəetmə sisteminə çevirmək. Yeni bir sistem qurursan və ya xidmət göstərirsən, Bu prosesi başa düşmək açardır.
Bu təlimat, elektrikli qaldırıcı trolley məclisinin toylu əsasları ilə sizi gəzəcəkdir.
Zəif yığılmış bir arabanın bir çox problemi həll edə bilər:
Düzgün bir montaj optimal performans təmin edir, İnvestisiya ömrünü maksimum dərəcədə artırır, və, ən başlıcası, iş yerinizi təhlükəsiz saxlayır.
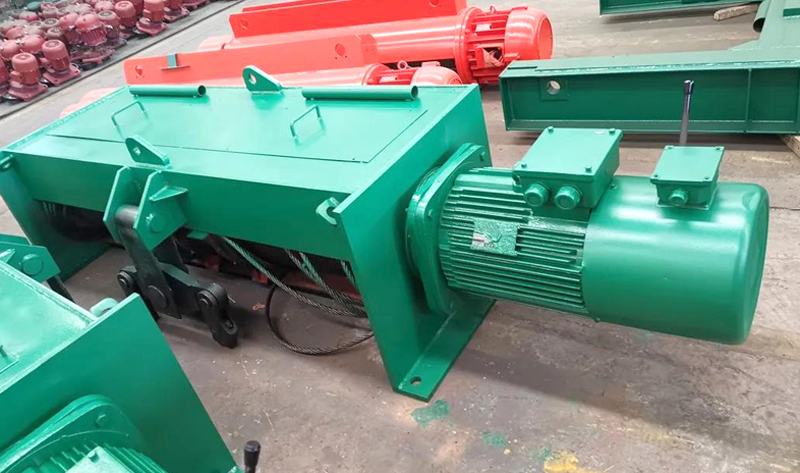
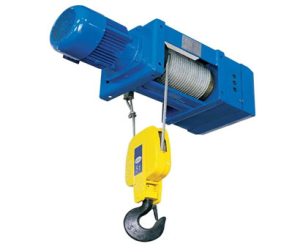
Başlamazdan əvvəl, Əsas hissələrlə tanış olun:
Qeyd etmək:
1. Həmişə başlamazdan əvvəl xüsusi modeliniz üçün rəsmi tüfəng təlimatına müraciət edin. Bu blog ümumi bir bələdçidir.
2. Adekvat kömək və düzgün qaldırma cihazlarınızın olmasını təmin edin (başqa bir qaldırıcı və ya kran kimi) qaldırıcı və trolley komponentlərinin ağırlığını idarə etmək.
3. Uyğun şəxsi qoruyucu avadanlıq geyin (Ppe) - Təhlükəsizlik eynəkləri və poladdan çıxan çəkmələr mütləqdir.
Addım atmaq 1: Hazırlıq
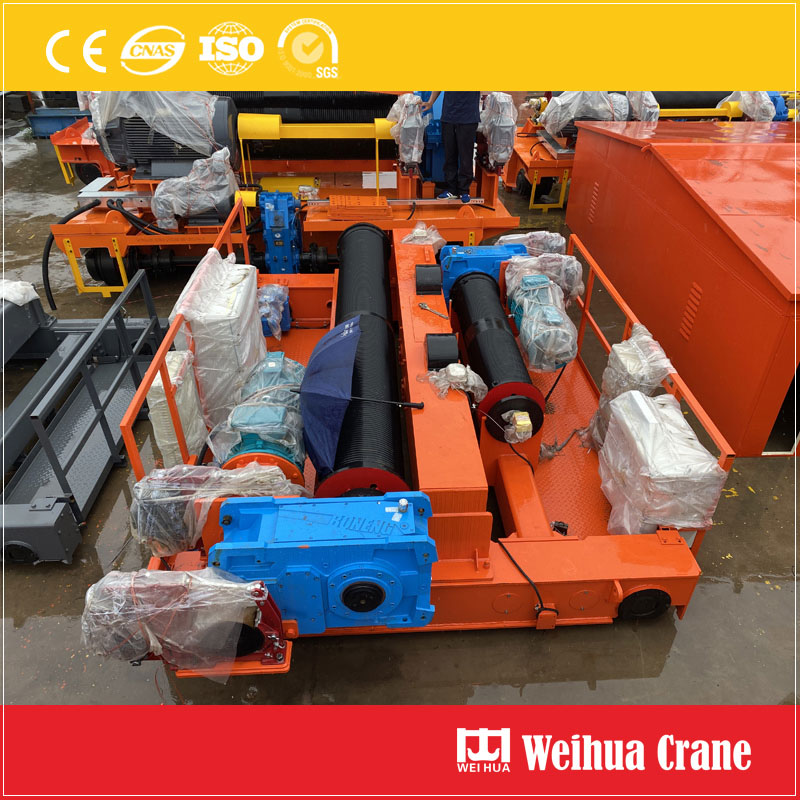
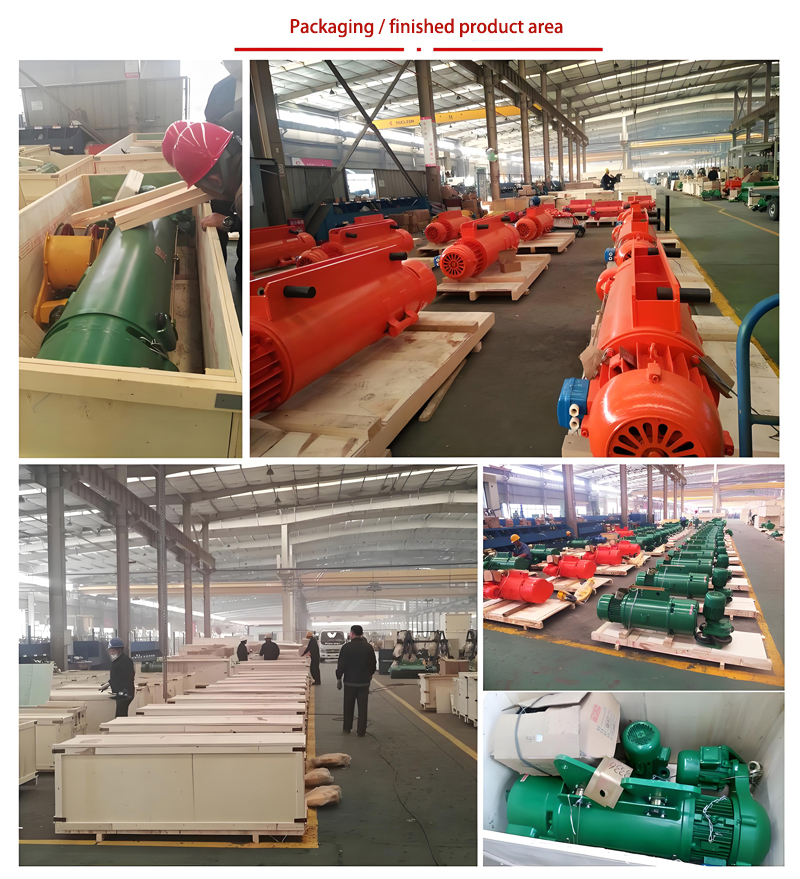
Bütün komponentləri toplayın, hardware, və təmiz bir alət, əlli-ayaqlı, və düz iş sahəsi. Manualın qablaşdırma siyahısında sadalanan bütün hissələrin olduğunu yoxlayın.
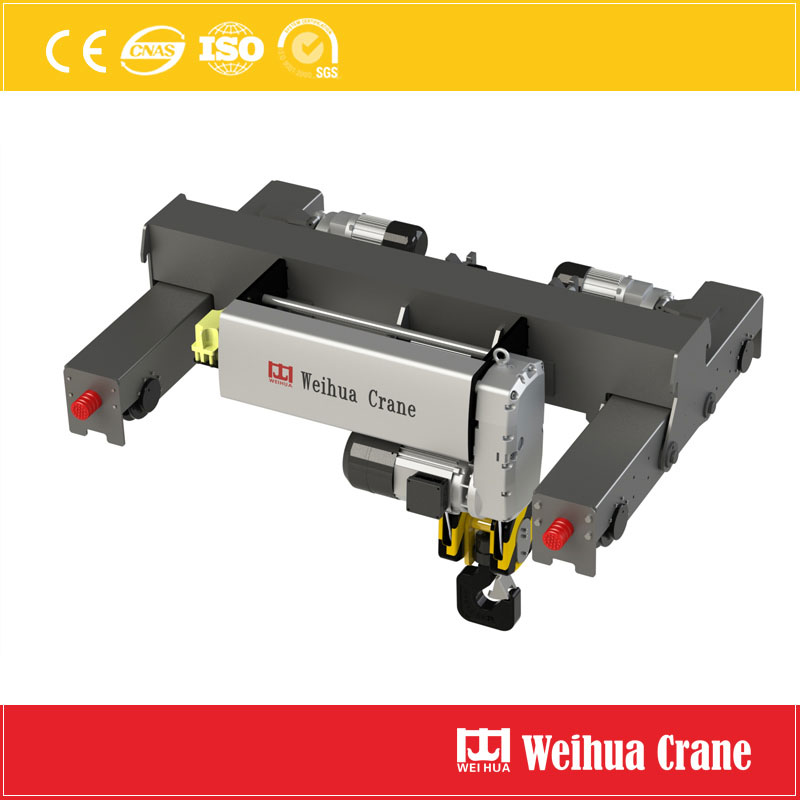
Addım atmaq 2: Trolley çərçivəsini yığmaq
1. Trolley çərçivəsinin əsas yan plitələrini qoyun.
2. AXLLƏRİ yan plitələrdəki təyin edilmiş deliklər vasitəsilə daxil edin. Təkərləri oxlara yapışdırın, Hər hansı bir kol və ya boşluqun əl ilə uyğun olaraq düzgün yerləşdirilməsini təmin etmək.
3. Təmin edilmiş kilidləmə sancaqları ilə oxları təmin edin, circlips, və ya qoz-fındıq. Həddindən artıq olmayın; Təkərlər sərbəst fırlanmalıdırlar.
Addım atmaq 3: Qaldırma trolley üçün quraşdırmaq
1. Bu, əməliyyatın ən vacib qaldırıcı hissəsidir. Diqqətlə yerinə yetirmək üçün köməkçi bir qaldırıcıdan istifadə edin elektrik qurğusu yığılmış trolley çərçivəsindən yuxarıda.
2. Qurğusunun üst çəngəl mötərizəsi və ya asma bədənindəki montaj çuxurlarını trolley çərçivəsindəki deliklərlə bağlayın.
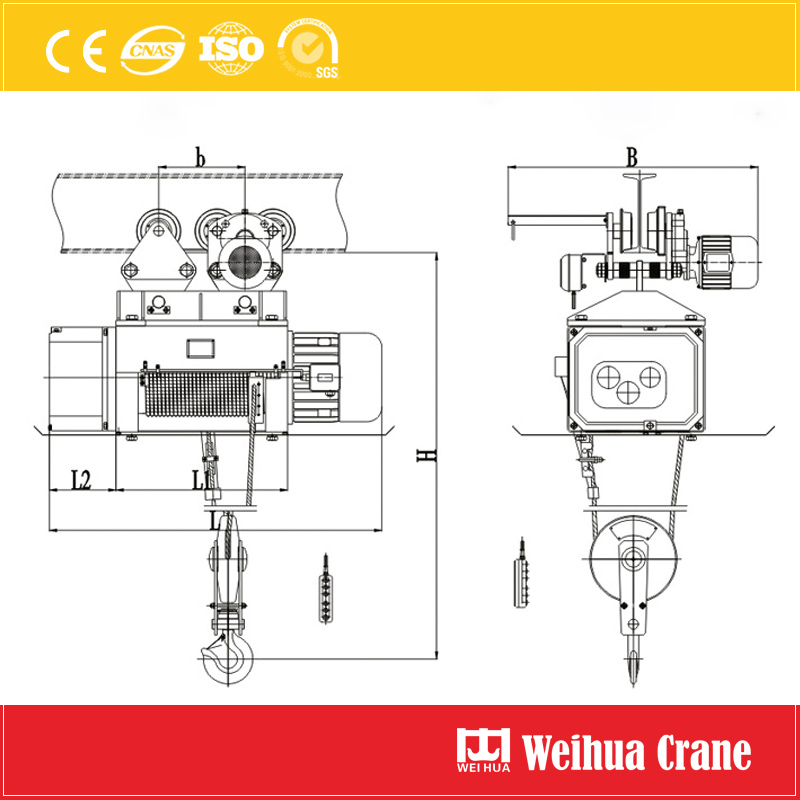
Addım atmaq 4: I-şüa üzərində quraşdırmaq
1. Köməyi ilə, Bütün yığılmış vahidi diqqətlə qaldırın və i-şüa üzərində yerləşdirin. Təkərləri şüanın alt flanşının üstünə "çəngəl" etmək üçün biraz əymək.
2. Bölməni tamamilə aşağı salın ki, bütün təkərlər şüa flanşları ilə möhkəm əlaqə qururlar.
Addım atmaq 5: Tənzimləmə və test
1. Hizalanmanı yoxlayın. Trolley heç bir məcburi olmadan şüada kvadrat oturmalıdır.
2. Hər hansı bir kobud ləkələr üçün hiss etmək üçün şüanın bütün uzunluğunu əl ilə itələyin, yapmaq, və ya qeyri-bərabər səyahət.
3. Yükləmə bir testi yerinə yetirin. Elektrikli trolley sürücüsündən istifadə edin (Təchiz olunursa) və ya hamar bir şəkildə işləməsini təmin etmək üçün əl ilə itələyin.
4. Nəhayət, Hər şeyi düzgün çəki altında düzgün bir şəkildə yoxlamaq üçün aydın bir ərazidə yüngül bir yükləmə testi keçirin.
Qabiletin həm əl itələyicilərini, həm də motorlu idarə olunanlara təklif etdiyini qeyd etmək vacibdir (elektrik) arzu.
Əlaltı arabası: Daha yüngül vəzifə və operatoru şüa boyunca yükləməyi tələb edir. Məclis ümumiyyətlə daha sadədir, Yuxarıda göstərildiyi kimi.
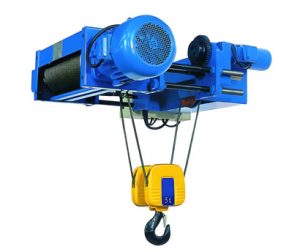
Elektrik arabaları: Təkərləri idarə edən ayrı bir səyahət motoru və sürət qutusu daxil edin. Onların montajı motoru bağlamaq və sürücü qatarının düzgün məşğul olmasını və yağlanmasını təmin etmək üçün əlavə addımlardır. Həmişə elektrik modelləri üçün xüsusi təlimatları izləyin.
Table Elektrikli Hoist Trolley'i düzgün toplamaq üçün vaxt ayırmaq məhsuldarlıq və təhlükəsizliyə bir investisiyadir. Proses təcrübəli texniki işçilər üçün düzdür, Heç vaxt əmin deyilsinizsə, peşəkar yardım axtarmaqdan çəkinməyin.
Yaxşı yığılmış bir qabıq qaldırıcı və trolley sistemi iş axınınızın sorunsuz bir uzantısıdır, İllər boyu dəqiq və etibarlılığı olan ağır yüklərin.
Geribildiriminizi qiymətləndiririk! Zəhmət olmasa aşağıdakı formu doldurun ki, xidmətlərimizi xüsusi ehtiyaclarınıza uyğunlaşdıraq.
Weihua tavanına quraşdırılmış elektrik qurğusu yığcam və aşağı baş otağı elektrikli c ......

20 Tons Elektrikli Hoist Açar Xüsusiyyətləri & Mülahizələr 1. Fövqəladə qaldırma qabiliyyəti &......
Bu 5 Ton Elektrik Zəncir Hoist, xüsusi və etibarlı bir qaldırma avadanlığı ......
Weihha, Çində aparıcı bir kran və qaldırıcı istehsalçısı, Elektrik alıcıları xüsusi ...... təklif edir.

