Critical Safety Warnings
-
DE-ENERGIZE & LOCKOUT/TAGOUT (LOTO): This is the absolute first and most crucial step. Disconnect the hoist from ALL power sources (main power and any control pendants). Physically lock the disconnect switch in the OFF position and tag it to prevent accidental re-energization. Verify zero voltage using a properly rated multimeter at the motor terminals.
-
Secure the Load: Ensure the hoist hook is completely unloaded and resting securely. Never work on a hoist supporting a load.
-
Block the Hook: If possible, block the hook or load chain/wire rope to prevent unexpected movement during motor removal.
-
Personal Protective Equipment (PPE): Wear safety glasses, gloves (leather or mechanics), and sturdy footwear. Consider a hard hat if working under the hoist.
-
Know Your Limits: If you are unsure about any step, lack the proper tools, or the hoist is complex/large, consult a qualified electrician or hoist technician.
Tools & Materials Needed
- Appropriate manufacturer’s service manual
- LOTO devices
- Multimeter (Volt/Ohm meter)
- Set of wrenches and sockets (metric & imperial as required)
- Screwdrivers (flathead & Phillips)
- Allen keys/Hex wrenches
- Torque wrench (critical for reassembly)
- Pry bars or small wedges (for gentle separation if needed)
- Wire strippers/crimpers (if replacing connectors)
- Electrical contact cleaner
- Dielectric grease (optional, for connectors)
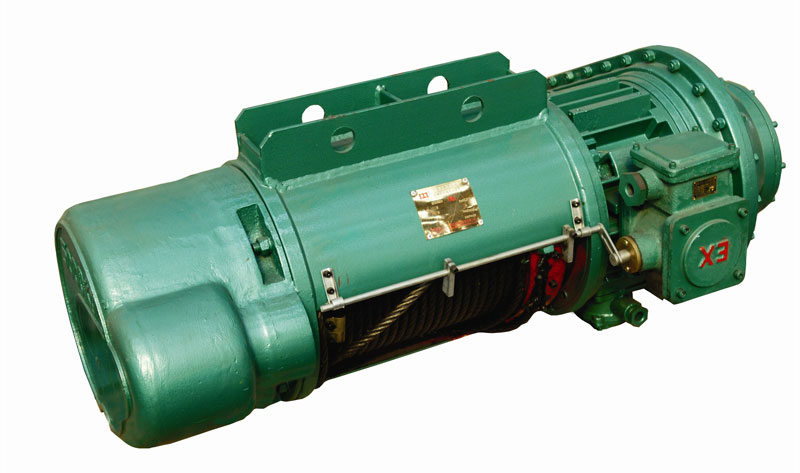
- New replacement motor (correct model, voltage, phase, horsepower, RPM, frame size, brake type – VERIFY BEFORE STARTING)
- Hoist alignment tools (dial indicator, feeler gauges – may be needed depending on coupling type)
- Assistant (recommended for heavier motors)

Procedure:
-
1. Prepare the Work Area:
-
Clear space around the hoist for safe access and movement.
-
Ensure adequate lighting.
-
Gather all necessary tools and the new motor nearby.
-
2. Access the Motor:
- Remove any necessary covers, guards, or panels that provide access to the motor and its connections. Keep track of fasteners.
-
3. Disconnect Electrical Wiring:
- Carefully photograph or meticulously label every wire connected to the motor terminals, brake coil terminals (if separate), thermal protector (if present), and any grounding wires. DO NOT rely on memory.
- Disconnect all wires. Note the routing of wires and cable glands/conduit connections.
- Protect disconnected wire ends with tape if needed.
-
4. Disconnect Mechanical Linkages:
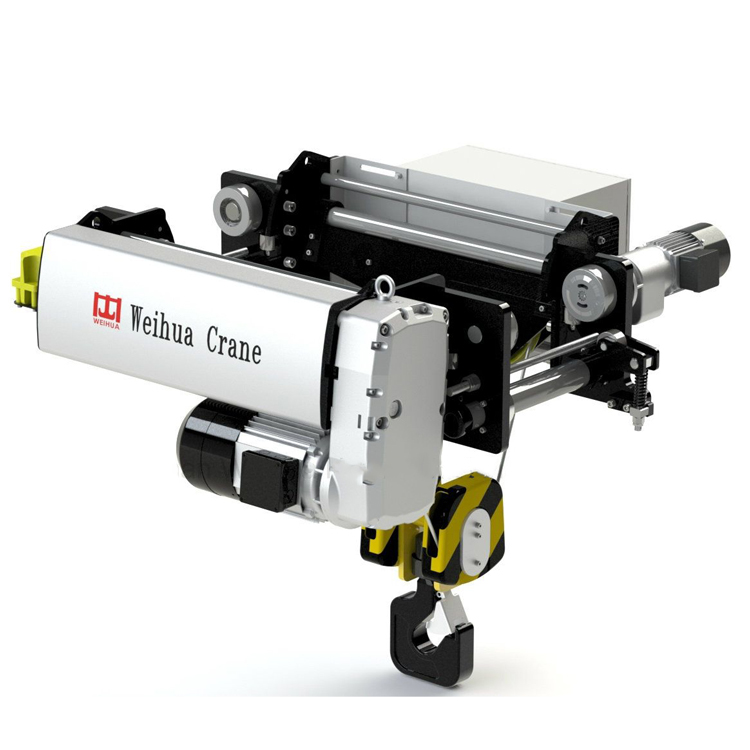
- Locate the coupling or drive mechanism connecting the motor shaft to the electric hoist gearbox input shaft. Common types include rigid couplings, flexible disc couplings, or gear couplings.
- Remove any coupling guards.
- Carefully mark the alignment relationship between the coupling halves if it’s not keyed (e.g., with a center punch or paint pen). This aids reassembly but does not guarantee final alignment.
- Remove the coupling bolts, set screws, or retaining pins connecting the motor half to the gearbox half or the drive pinion. You may need to support the gearbox input shaft slightly to prevent it from dropping once disconnected.
-
5. Remove Mounting Bolts & Support Motor:
- Identify and loosen (but do not fully remove yet) all motor mounting bolts. There are typically 2-4 bolts securing the motor flange to the gearbox housing or motor base.
- Have an assistant support the weight of the motor, or use a suitable lifting device/sling if the motor is heavy. Motors are often deceptively heavy.
-
6. Remove the Old Motor:
- Once supported, fully remove the mounting bolts.
- Gently slide or pry the motor straight back away from the gearbox housing along the shaft axis. Be careful not to damage the shaft ends or coupling surfaces. Avoid letting the motor hang by its wires.
- Carefully lower the motor and set it aside securely.
-
7. Prepare the New Motor & Mounting Surface:
- Unpack the new motor. Inspect it for any shipping damage.
- VERIFY: Double-check the new motor’s specifications (HP, RPM, Voltage, Frame, Brake Type) against the old motor and the hoist requirements.
- Clean the mounting flange on the gearbox housing and the mating surface on the new motor. Remove any old gasket material, rust, or debris.
- Check the new motor shaft keyway (if applicable) and ensure the key is properly fitted (if it uses a keyed coupling).
-
8. Install the New Motor:
- Carefully lift the new motor into position, aligning its shaft with the gearbox input shaft.
- Slide the motor forward smoothly, engaging the coupling halves (if already on the shafts) or aligning the shafts for coupling installation. Avoid forcing it.
- Hand-start all mounting bolts to ensure proper alignment of bolt holes.
- Gradually tighten the mounting bolts in a star or cross pattern to ensure even pressure and prevent distortion. DO NOT fully torque them yet.
-
9. Reconnect Mechanical Linkages (Coupling):
- Align the coupling halves precisely. This step is critical to prevent vibration and premature bearing failure.
- Alignment Check: Use a dial indicator and feeler gauges per the manufacturer’s instructions to check angular and parallel (offset) misalignment between the motor shaft and gearbox shaft. Make necessary shimming adjustments under the motor feet until alignment is within specified tolerances. Skipping proper alignment is a major cause of motor failure.
- Once aligned, torque the motor mounting bolts to the manufacturer’s specification using a torque wrench.
- Install the coupling bolts/pins/set screws. Torque them to the specified value. Ensure any key is fully seated.
- Reinstall the coupling guard securely.
-
10. Reconnect Electrical Wiring:
-
11. Reinstall Guards & Covers: Securely replace all covers, panels, and guards removed earlier.
-
12. Pre-Operational Checks (BEFORE POWER):
- Double-check all bolts (mounting, coupling) are properly torqued.
- Verify all electrical connections are tight and correct.
- Ensure wires are clear of moving parts and guards are secure.
- Manually rotate the motor shaft by hand (if possible). It should turn smoothly without binding or unusual noise. Check brake release (if accessible manually).
-
13. Energize and Test (CAUTIOUSLY):
- Remove LOTO devices only after confirming the area is clear.
- Re-energize the hoist circuit.
- Perform initial tests with NO LOAD:
- Operate the hoist UP and DOWN slowly. Listen for unusual noises (grinding, screeching, excessive hum).
- Verify the brake holds immediately when the control is released.
- Check that the motor rotates in the correct direction (usually “Up” direction). If it runs backward, immediately stop and swap two main power leads at the motor terminals (consult manual).
- Observe for excessive vibration.
-
Light Load Test: If no-load tests are satisfactory, lift a very light, safe load (significantly below capacity). Check brake holding, smooth operation, and noise levels.
-
Gradual Load Increase: Gradually increase the load towards rated capacity in steps, monitoring performance closely at each step. Ensure smooth acceleration/deceleration and positive brake engagement.
-
Final Check: Operate through the full range of motion and speeds (if variable speed).
Post-Installation
- Monitor the hoist closely during initial operation.
- Check motor temperature after running under load for a reasonable period (should be warm, not hot enough to burn).
- Document the motor replacement in the hoist maintenance log, including date, motor model/serial number, and any observations.
Remember: This guide provides general steps. ALWAYS refer to the specific procedures, torque values, alignment tolerances, and safety instructions in the electric hoist manufacturer’s official service manual. When in doubt, seek qualified assistance.