Important Safety Disclaimer: Working with 220V electricity is extremely hazardous and can result in severe injury, death, or fire if not performed correctly. This guide is for informational purposes only. If you are not a licensed, qualified electrician familiar with local electrical codes (NEC in the US, or equivalent), you must hire a professional to perform this installation. Do not proceed without the proper knowledge, skills, and permits.
Understanding the Basics
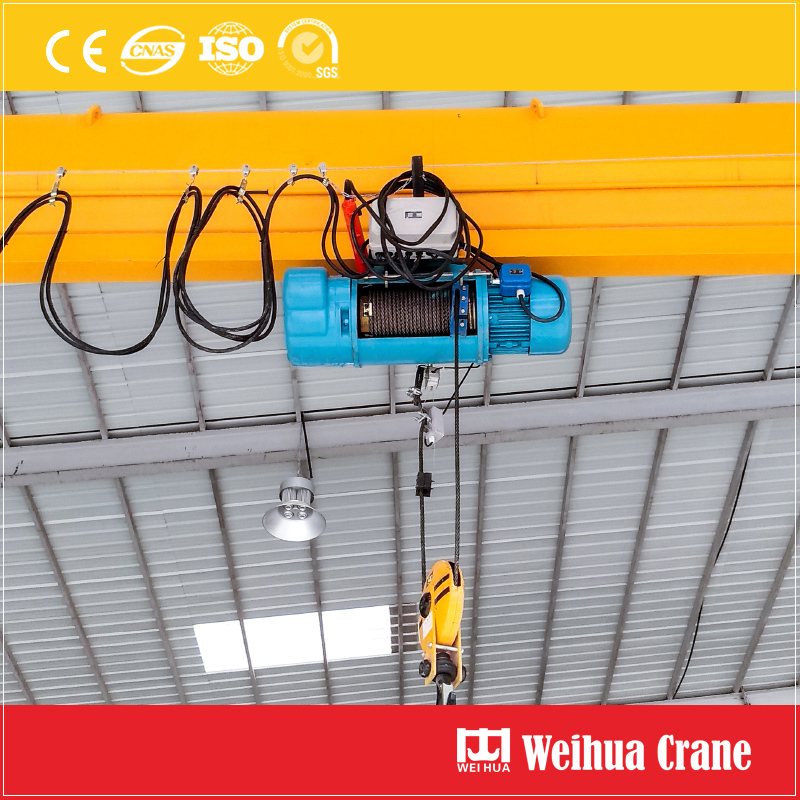
A 220V hoist (also known as 240V) requires a dedicated circuit because it operates at a higher voltage than standard 110V/120V outlets. This means you will likely need to run a new circuit from your main electrical panel.
Key Components You’ll Need:
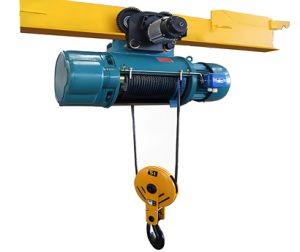
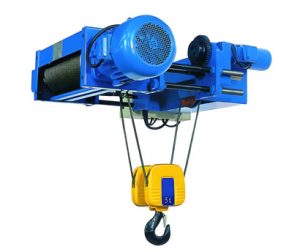
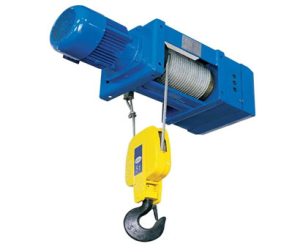
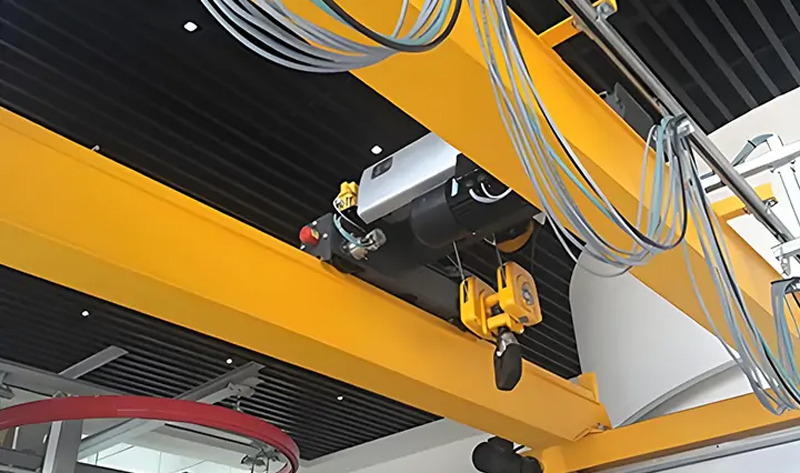
- 1. The Hoist: Clearly rated for 220V operation.
- 2. Circuit Breaker: A double-pole breaker of the correct amperage for your hoist (specified in its manual).
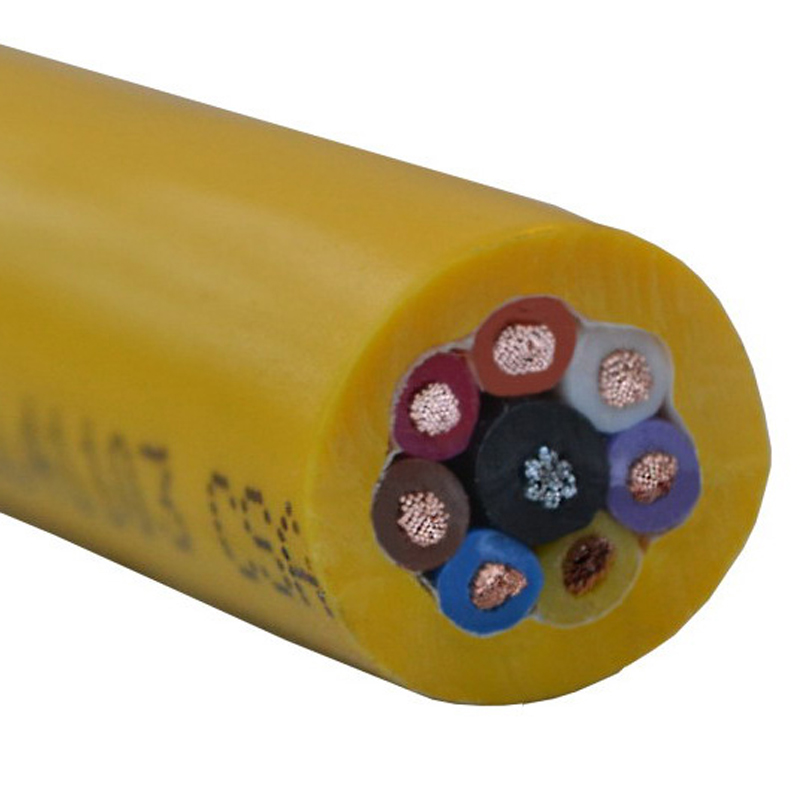
- 3. Cable: The appropriate gauge of wire (e.g., 10/2 or 8/2 with ground, depending on amperage and distance). Using the wrong gauge is a fire hazard.
- 4. Outlet: A heavy-duty 220V outlet that matches your hoist’s plug configuration (e.g., a NEMA 6-15 or 6-20 receptacle).
- 5. Conduit: Metal or PVC conduit may be required by code to protect the cable.
- 6. Basic Tools: Wire strippers, screwdrivers, voltage tester, drill, etc.
Step-by-Step Wiring Guide
Step 1: Planning and Preparation
- 1. Read the Manual: The hoist’s manufacturer manual is your most important resource. It will specify the exact voltage, amperage, and circuit requirements.
- 2. Check Local Codes: Electrical codes vary by location. Ensure your plan complies with all national and local regulations (NEC, CEC, etc.).
- 3. Choose the Circuit Breaker: Based on the hoist’s amperage draw, select a double-pole breaker that provides adequate overload protection. A 20-amp or 30-amp breaker is common.
- 4. Select the Correct Wire Gauge: The breaker size and the length of the cable run from the panel to the outlet determine the wire gauge. For a 20-amp circuit, 12-gauge wire is typically used; for a 30-amp circuit, 10-gauge is standard. Consult a wire gauge chart or an electrician to be sure.
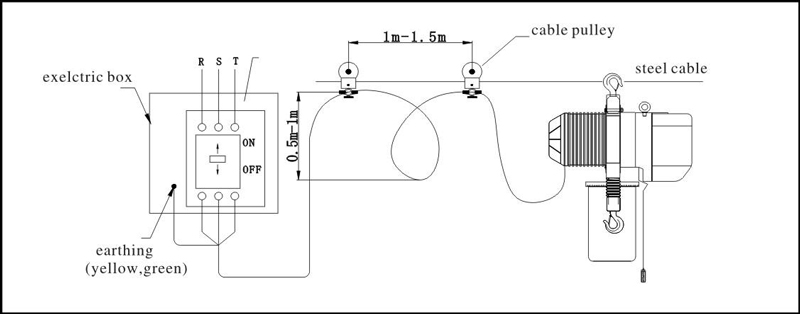
- 5. Shut Off Power: Go to your main electrical service panel and shut off the power to the entire panel. Use a voltage tester on several circuits to confirm the power is completely off. This is non-negotiable.
Step 2: Install the New Circuit Breaker
- 1. Install the Breaker: Carefully install the new double-pole breaker into an available slot in your panel. It will connect to both hot bus bars.
- 2. Run the Cable: Run your chosen cable from the panel to the location where you want the outlet. Secure it with staples or, more commonly, run it through approved conduit.
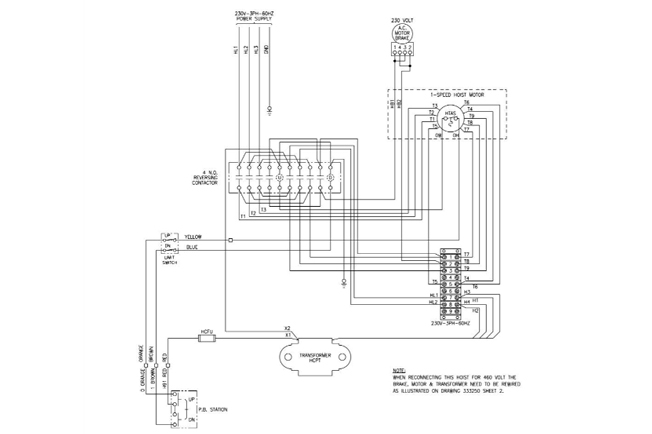
Step 3: Wire the 220V Outlet
A standard 220V outlet has four terminal screws:
- Two Brass Terminals: These are for the “hot” wires (usually black and red).
- One Silver Terminal: This is for the neutral wire (usually white). Note: Some pure motor loads like hoists may not use a neutral, but the outlet or code may require one. Check your manual.
- One Green Terminal: This is for the ground wire (bare copper or green).
- Connect the Wires:
- Connect the two hot wires (black and red) to the two brass terminals.
- Connect the neutral wire (white) to the silver terminal.
- Connect the ground wire (bare/green) to the green ground terminal.
- Secure the Outlet: Carefully place the wired outlet into the electrical box and secure it.
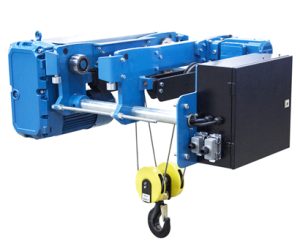
Step 4: Wire the Hoist (If Necessary)
Most hoists come with a pre-attached plug. If yours requires hardwiring:
- 1. Access the Junction Box: Open the wiring compartment on the hoist.
- 2. Match the Wires: Connect the wires from your power source to the corresponding terminals inside the hoist: Hot (Black) to L1, Hot (Red) to L2, Neutral (White) to N, and Ground (Green) to the ground symbol (⏚).
- 3. Secure Connections: Ensure all connections are tight and secure. Close and seal the junction box.
Step 5: Final Connections and Testing
- 1. Panel Connection: At the main panel, connect the wires to the new breaker and the neutral/ground bus bars.
- The black and red hot wires go to the new double-pole breaker.
- The white neutral wire connects to the neutral bus bar.
- The ground wire connects to the ground bus bar.
- 2. Double-Check: Review every connection to ensure they are correct and tight.
- 3. Power On: Once everything is secure and closed up, you can restore power at the main panel. Then, flip the new breaker to the “ON” position.
- 4. Test the Outlet: Use a multimeter or a plug-in voltage tester to verify that the outlet is providing the correct voltage (approximately 220-240V between the two hot slots).
- 5. Test the Hoist: With the power confirmed, plug in the hoist. Test its functions (up/down) with no load first to ensure it operates correctly.
Wiring a 220V hoist is a serious task that should not be taken lightly. While a competent DIYer can understand the process, the risks involved make professional installation the highly recommended and safest choice. Proper installation ensures not only your safety but also the longevity and reliable performance of your equipment.
Stay safe and always prioritize a professional when in doubt!