탐색 메뉴
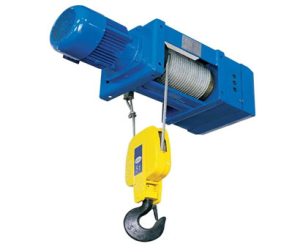
자재 취급의 세계에서, 효율성과 안전성이 가장 중요합니다. You've invested in a powerful and reliable Coffing electric hoist—a workhorse known for its durability and performance. But to unlock its full potential, it needs to move. That’s where the trolley comes in.
온라인 채팅The assembly of your Coffing electric hoist trolley is a critical step. Done correctly, it ensures smooth, 안전한, and effortless travel along your I-beam, turning a powerful lifting tool into a versatile handling system. Whether you’re setting up a new system or performing maintenance, understanding this process is key.
This guide will walk you through the essentials of Coffing electric hoist trolley assembly.
A poorly assembled trolley can lead to a host of problems:
A proper assembly ensures optimal performance, maximizes the lifespan of your investment, 그리고, 가장 중요한 것은, keeps your workplace safe.
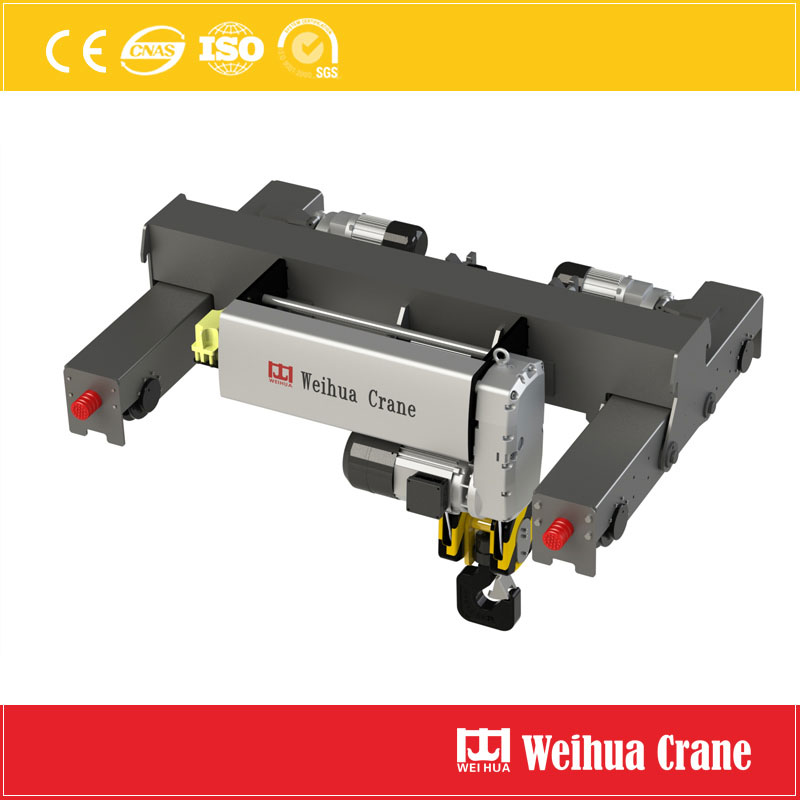
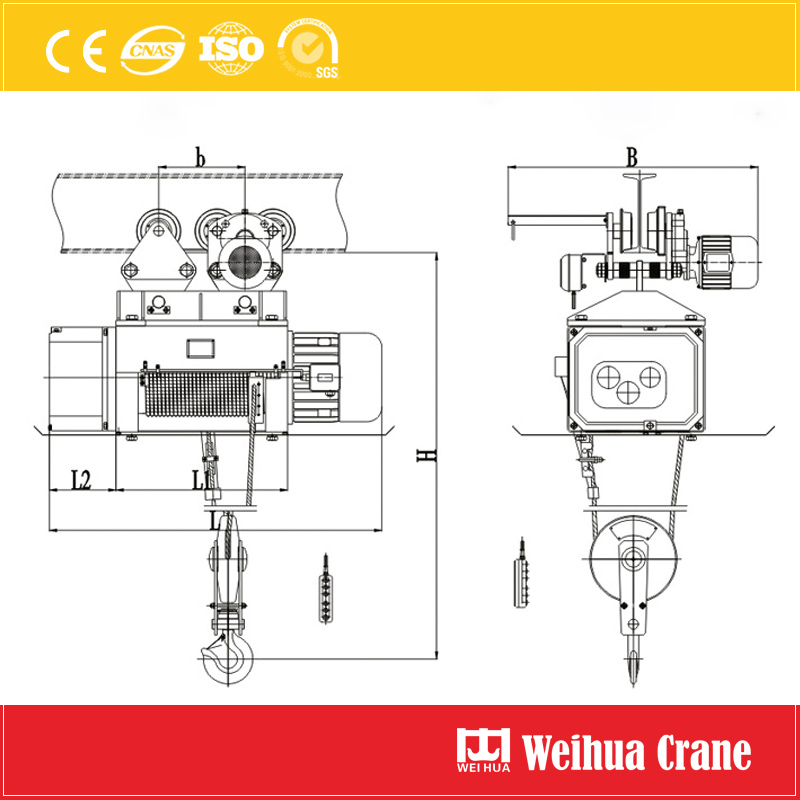
Before you begin, familiarize yourself with the main parts:
메모:
1. Always consult the official Coffing manual for your specific model before beginning. This blog is a general guide.
2. Ensure you have adequate help and proper lifting equipment (like another hoist or crane) to handle the weight of the hoist and trolley components.
3. Wear appropriate Personal Protective Equipment (PPE) – safety glasses and steel-toed boots are a must.
단계 1: Preparation
Gather all components, hardware, and tools in a clean, well-lit, and flat workspace. Verify you have all parts listed in the manual’s packing list.
단계 2: Assembling the Trolley Frame
1. Lay out the main side plates of the trolley frame.
2. Insert the axles through the designated holes in the side plates. Attach the wheels to the axles, ensuring any bushings or spacers are correctly positioned as per the manual.
3. Secure the axles with the provided locking pins, circlips, or nuts. Do not overtighten; the wheels must be able to spin freely.
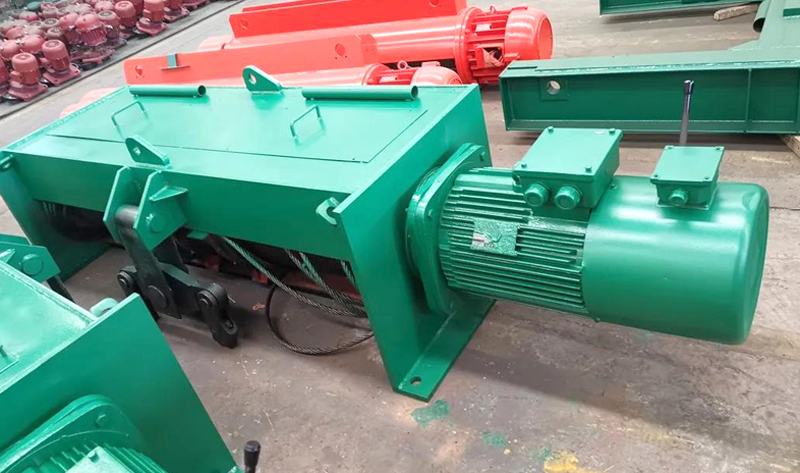
단계 3: Mounting the Hoist to the Trolley
1. This is the most crucial lifting part of the operation. Use an auxiliary lifter to carefully position the 전기 호이스트 above the assembled trolley frame.
2. Align the mounting holes on the hoist’s top hook bracket or suspension body with the holes on the trolley frame.
단계 4: Installing on the I-Beam
1. With help, carefully lift the entire assembled unit and position it onto the I-beam. Tilt the unit slightly to “hook” the wheels onto the bottom flange of the beam.
2. Lower the unit completely so all wheels are making solid contact with the beam flange.
단계 5: Adjustment and Testing
1. Check the alignment. The trolley should sit square on the beam without any binding.
2. Manually push the trolley the entire length of the beam to feel for any rough spots, sticking, or uneven travel.
3. Perform a no-load test. Use the electric trolley drive (장착된 경우) or push it manually to ensure it operates smoothly.
4. Finally, conduct a light load test in a clear area to verify everything functions correctly under weight.
It’s important to note that Coffing offers both manual push trolleys and motor-driven (전기 같은) 트롤리.
Manual Trolleys: Lighter duty and require an operator to push the load along the beam. Assembly is generally simpler, as described above.
Electric Trolleys: Include a separate travel motor and gearbox that drives the wheels. Their assembly involves additional steps to connect the motor and ensure the drive train is properly engaged and lubricated. Always follow the specific instructions for electric models.
Taking the time to correctly assemble your Coffing electric hoist trolley is an investment in productivity and safety. While the process is straightforward for experienced technicians, never hesitate to seek professional assistance if you are unsure.
A well-assembled Coffing hoist and trolley system is a seamless extension of your workflow, moving heavy loads with precision and reliability for years to come.
우리는 귀하의 의견을 소중히 여깁니다! 귀하의 특정 요구에 맞게 서비스를 조정할 수 있도록 아래 양식을 작성하십시오..
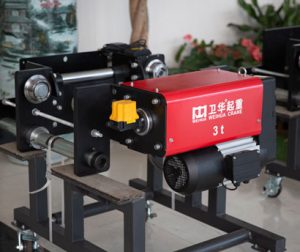
작은 전기 호이스트의 핵심 생성물로, 1/2 Ton Electric Chain Hoist는 적합합니다.
웨이화 1 원격 제어 기능이 있는 Ton 전기 체인 호이스트는 신뢰할 수 있는 엔지니어링을 결합합니다., ……
Weihua의 전기 로프 호이스트는 컴팩트한 구조와 강력한 리프팅 기능을 결합합니다.. ……
빠른 속도로, 현대 창고의 까다로운 환경, 능률, 안전, 그리고 ……

