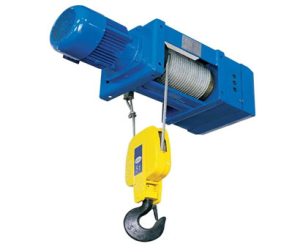
Думай об этом так: Вы не построили бы дом на слабым основании. Сходным образом, никогда не следует доверять могущественному Электрический подъемник некачественный или неправильно выбранный монтажный кронштейн. Этот важнейший компонент является важнейшим связующим звеном между вашим подъемником и верхней опорной конструкцией., гарантируя, что все останется в безопасности, безопасный, и оперативный.
Сегодня, заслуженное внимание уделяем кронштейну крепления электротали для двутавра.
Почему правильный монтажный кронштейн так важен?
Основная функция кронштейна – обеспечить надежное и стабильное соединение.. Его важность сводится к трем ключевым факторам.:
- 1. Безопасность: Это не подлежит обсуждению. Выход из строя монтажного кронштейна может привести к катастрофическим авариям., причинение травмы, повреждение оборудования, и потеря нагрузки. Правый кронштейн рассчитан на номинальную грузоподъемность подъемника и динамические силы во время подъема и перемещения..
- 2. Производительность: Правильно установленный кронштейн обеспечивает плавное перемещение по полке двутавровой балки.. Это сводит к минимуму колебание, обязательность, или резкие движения, которые могут преждевременно изнашивать ваш подъемник и тележку.
- 3. Универсальность: Правильная система кронштейнов позволяет оптимизировать зону действия подъемника на рабочем месте., позволяет поднимать и перемещать грузы именно там, где они вам нужны..
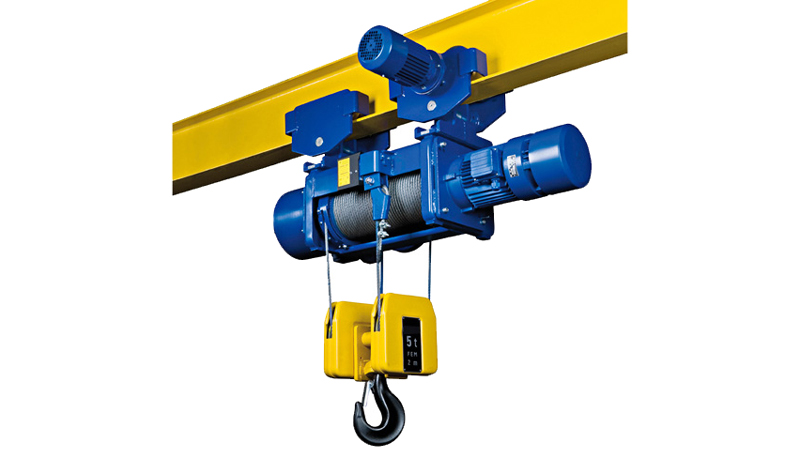
Ключевые компоненты стандартного монтажного кронштейна двутавровой балки
Хотя конструкции различаются, большинство кронштейнов состоят из нескольких основных частей:
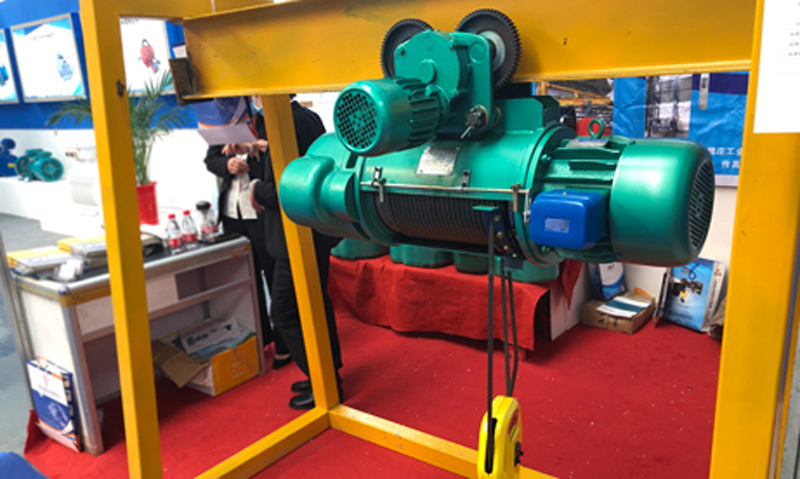
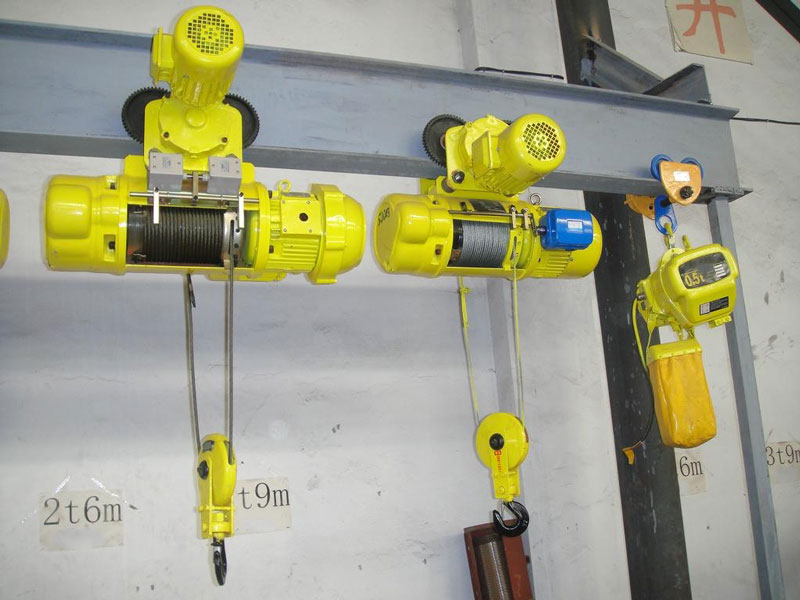
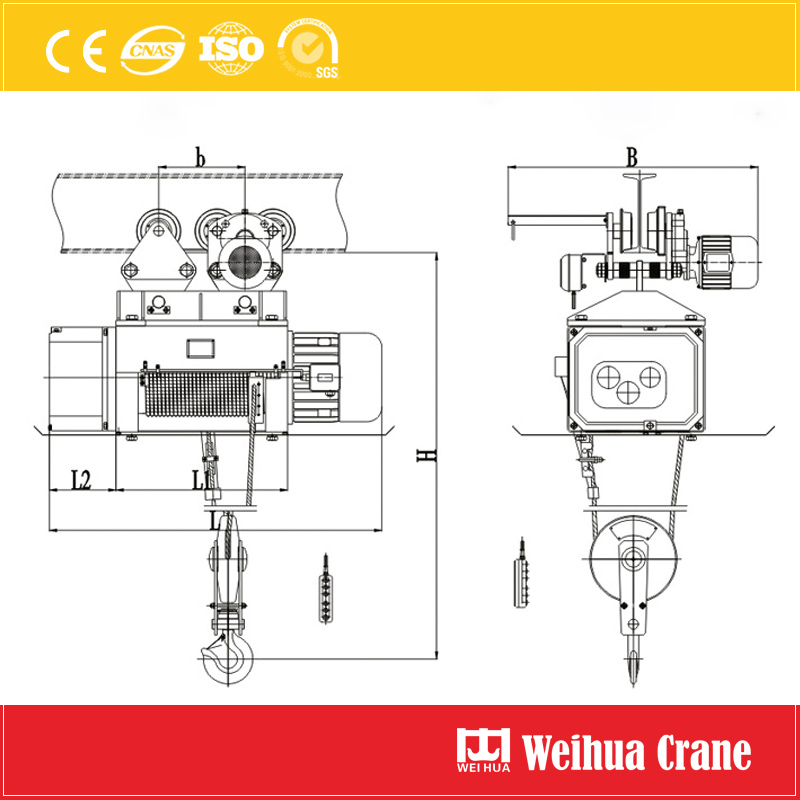
- 1. Тележка Рама: Основной корпус, в котором размещены колеса и соединяется с подъемником..
- 2. Ось & Колеса: Колеса движутся по нижней полке двутавровой балки., позволяя всему отряду путешествовать.
- 3. Нагрузочная скоба или крюк: Точка, к которой подвешивается сама электрическая таль.
- 4. Механизм регулировки: Это наиболее важная функция для надежной посадки.. Многие кронштейны имеют регулируемые концевые тележки или проставки, подходящие для фланцев двутавровой балки различной ширины..

Выбор правильного кронштейна: Что вы ДОЛЖНЫ знать
Вы не можете просто взять любой кронштейн с полки.. Вот что следует учитывать:
- 1. Грузоподъемность подъемника: Кронштейн должен быть рассчитан как минимум на ту же грузоподъемность, что и ваша электрическая таль.. Никогда не используйте кронштейн с более низким пределом рабочей нагрузки. (Wll).
- 2. Ширина полки двутавровой балки: Измерьте ширину нижней полки двутавровой балки. (квартира, горизонтальная поверхность, по которой будут ездить колеса). Кронштейн должен регулироваться, чтобы идеально соответствовать этой ширине.. Слишком свободный кронштейн будет неустойчивым.; тот, который слишком тугой, не подойдет или закрепится.
- 3. Тип путешествия: Будет ли подъемник перемещаться вручную, потянув за цепь?, или это часть моторизованной тележки? Ручные кронштейны тележки обычно используются для небольших подъемников., в то время как тележки с электроприводом используются для более тяжелых грузов или частых поездок на дальние расстояния..
- 4. Совместимость: Убедитесь, что кронштейн предназначен для работы с вашей конкретной моделью подъемника.. Размер штифта с головкой и расстояние между монтажными отверстиями на подъемнике должны соответствовать крюку или скобе кронштейна..

Контрольный список установки и безопасности
- 1. Всегда сверяйтесь с руководствами: Перед установкой, внимательно прочитайте руководство по подъемнику и руководству по кронштейну/тележке..
- 2. Осмотр двутавровой балки: Убедитесь, что верхняя двутавровая балка структурно прочна., рассчитан на нагрузку, и без ржавчины, повреждать, или искажение.
- 3. Проверьте наличие разрешения: Убедитесь, что между верхней частью подъемника и стенкой двутавровой балки имеется достаточный зазор, чтобы подъемник мог сидеть правильно и без помех..
- 4. Обеспечьте посадку: После регулировки кронштейна по ширине фланца, убедитесь, что все стопорные штифты, болты, или гайки надежно затянуты.
- 5. Выполните пробный подъем: Прежде чем ввести подъемник в полную эксплуатацию, выполните пробный подъем с легким грузом, чтобы проверить устойчивость и плавность работы.
Не позволяйте монтажному кронштейну вашей электрической лебедки оставаться второстепенным вопросом.. Это фундаментальный компонент безопасности и эффективности вашей подъемной системы.. Инвестирование в правильную скобку, убедиться, что он правильно отрегулирован, и проведение регулярных проверок — это небольшие шаги, которые предотвращают серьезные проблемы.
Когда сомневаешься, всегда консультируйтесь с квалифицированным инженером или производителем вашего подъемника, чтобы убедиться, что ваша установка безопасна и соответствует всем соответствующим стандартам безопасности..