Critical Safety Warning First
- Блокировка/маркировка (Сердце): ALWAYS disconnect the hoist from ALL power sources (electrical AND pneumatic if applicable) and follow strict LOTO procedures before starting any work. Verify zero energy state.
- Поддержите нагрузку: NEVER work on a hoist under load. Lower the hook block to the ground or securely support the load independently using proper stands or blocking.
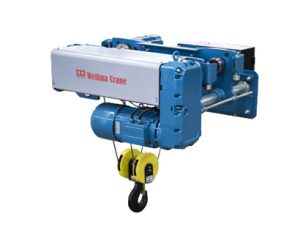
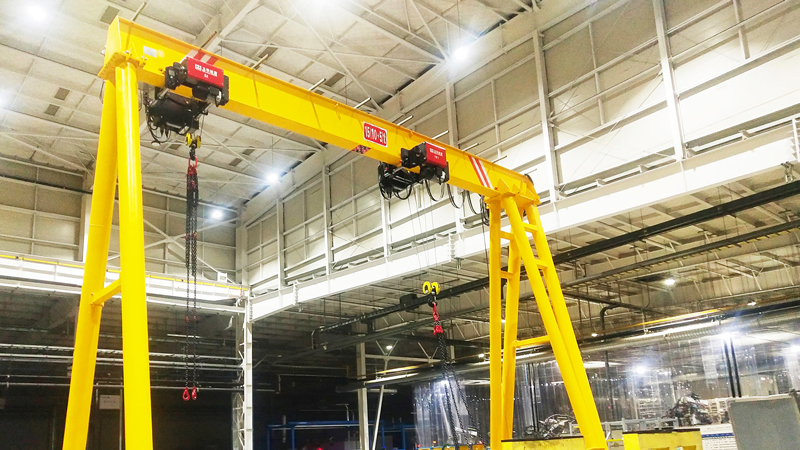
- Secure the Hoist: Ensure the Электрический подъемник itself is securely mounted or blocked to prevent any movement.
- Средства индивидуальной защиты (СИЗ): Носите защитные очки, перчатки (chemical-resistant for oil), and appropriate clothing. Consider a face shield if using compressed air or solvents.
- Рабочая зона: Ensure good ventilation, contain spilled oil with absorbent mats/pads, and have proper disposal containers ready. Oil is slippery and flammable!
- Знай свои пределы: If the leak source is complex, involves major disassembly, or the hoist is critical/expensive, consult the manufacturer’s manual or a qualified technician. Forcing things can cause worse damage.
Инструменты & Materials You’ll Likely Need:
- Appropriate wrenches & sockets (metric/imperial as needed)
- Отвертки (плоскоголовый, Филлипс)
- Seal puller (small pry bars or picks carefully used can substitute)
- Clean lint-free rags
- Brake cleaner, degreaser, or solvent (non-flammable preferred) & parts cleaning brush
- Container for draining old oil
- New oil (Тип & viscosity specified in hoist manual – CRITICAL)
- Replacement seals/gaskets (O-rings, shaft seals, gaskets – exact match required)
- Thread sealant (Loctite 577/Permatex #2 or quality PTFE tape – use only where appropriate)
- High-quality food-grade grease (for reassembly lubrication)
- Динамометрический ключ (recommended)
- Flashlight/Work Light
- Oil absorbent pads & disposal container
Step-by-Step Repair Process:
-
Identify the Leak Source (Diagnosis is Key!):
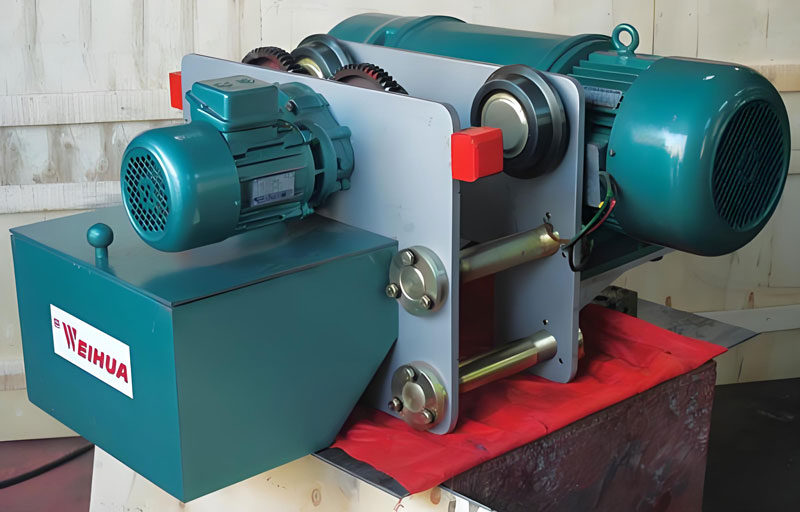
- Thoroughly Clean: Degrease the entire area around the suspected leak (корпус коробки передач, motor interface, drain/fill plugs, shaft exits) using brake cleaner/degreaser and rags. Remove all dirt and grime. A clean surface is essential for spotting the active leak.
- Inspect Carefully: Use your flashlight. Look for the origin of the seepage or drip. Common locations:
- Gearbox Housing Seams: Between halves or end covers (indicates a failed gasket).
- Shaft Exits: Where the motor shaft or hoist drum shaft enters/exits the gearbox (indicates a failed shaft seal).
- Drain Plugs & Fill Plugs/Oil Sight Glasses: Around the threads or the plug/seal itself.
- Pipe Thread Fittings: Any external lines or sensors screwed into the housing.
- Cracks: Inspect castings very carefully for hairline cracks (less common, more serious).
- Operate Briefly (If Safe & Чистый): With the area clean and dry, briefly operate the hoist (unloaded!) for a few seconds. Immediately re-inspect to pinpoint where fresh oil appears. Shut down and LOTO again immediately after observation.
-
Prepare for Repair:
- Drain the Oil: Place your container underneath. Carefully remove the drain plug (Если оборудован) and allow all oil to drain completely. If no drain plug, you’ll need to drain during disassembly (messier). Capture all oil for proper disposal.
- Remove Obstructions: If necessary, remove guards, covers, or other components blocking access to the leak area. Keep track of all fasteners.
-
Address the Specific Leak Source:
-
А. Leaking Shaft Seal:
- Access the seal. This often requires disassembling the end cover or housing section holding the seal.
- Carefully remove the old seal. Use a seal puller or gently pry with small screwdrivers/picks, avoid scratching the shaft or the seal bore. Note the seal’s orientation.
- Критический: Inspect the shaft surface where the seal lip rides. Look for grooves, nicks, ржавчина, или чрезмерный износ. A damaged shaft will destroy a new seal quickly. Light polishing with very fine emery cloth might help minor imperfections, but deep damage requires shaft repair/replacement (professional job).
- Clean the seal bore meticulously. Remove all old sealant/gasket material.
- Lubricate the new seal’s lip and outer edge lightly with clean oil.
- Correctly orient the new seal (spring side usually faces the oil). Tap it squarely into place using a socket or seal driver that contacts only the outer metal rim. Do NOT hammer directly on the seal face or inner lip. Drive it in flush and straight.
-
B. Leaking Gasket (Housing Seam or Cover):
- Remove the fasteners holding the leaking cover or housing section.
- Carefully separate the parts. Gently pry if stuck, avoid gouging mating surfaces.
- Meticulously Clean: Remove ALL traces of the old gasket material from both mating surfaces using a plastic scraper/gasket remover and solvent. Do NOT use metal scrapers on machined surfaces! Aim for perfectly clean, smooth, dry surfaces.
- Inspect mating surfaces for flatness, warping, или повреждение. Minor imperfections can sometimes be addressed with a quality gasket sealer, but significant damage requires machining or part replacement.
- Place the new, correct gasket (dry) onto one surface. Ensure it aligns perfectly with bolt holes. Generally, avoid sealants on pre-formed gaskets unless specified by the manufacturer. If no gasket and surfaces are metal-to-metal, use a thin, even layer of a suitable anaerobic flange sealant (like Loctite 515) according to instructions.
-
C. Leaking Drain/Fill Plug or Fitting:
- Remove the leaking plug or fitting.
- Inspect Threads: Check both the plug/fitting threads and the housing threads for damage (stripping, galling). Clean threads thoroughly with solvent and a brush.
- Re-seal:
- For NPT (Tapered Pipe) Threads: Apply a quality pipe thread sealant (like Loctite 577, Permatex #2) to the male threads only. Apply 2-3 wraps starting 1-2 threads back from the end. Do NOT use PTFE tape on tapered threads under high vibration (common in hoists) unless specifically approved by the hoist manufacturer, as shreds can contaminate the oil system. If tape is used, wrap clockwise (looking at end of male thread), 3-4 wraps, keep first thread clear.
- For Straight Threads (with O-ring/Washer): Replace the O-ring or crush washer with an exact replacement. Lubricate the O-ring lightly with oil before assembly. Do NOT use thread sealant here.
- Reinstall the plug/fitting and tighten firmly but do not overtighten, especially on cast housings. Use a torque wrench if specified.
-
Д. Leaking Crack: This is a serious issue requiring professional assessment. Small, non-structural cracks might be temporarily sealed with specialized metal epoxies (like JB Weld) after meticulous cleaning/degreasing, but this is a stop-gap. Replacement of the housing or major component is almost always the safe and permanent solution. Consult the manufacturer or a qualified repair shop.
-
Reassembly:
- Reassemble all components in reverse order of disassembly.
- Смазать: Apply a thin film of clean oil or food-grade grease to shafts before reinstalling seals or bearings. Lightly grease gaskets (if recommended) or O-rings to aid sealing and prevent pinching.
- Torque Fasteners: Tighten bolts/screws evenly in a cross-pattern to the manufacturer’s specified torque values using a torque wrench. Avoid uneven pressure causing distortion.
-
Refill with Correct Oil:
- Consult the hoist’s manual for the exact type and viscosity of oil required (НАПРИМЕР., ISO VG 220 Gear Oil). Using the wrong oil can cause seal failure or inadequate lubrication.
- Fill slowly to the correct level (check via sight glass or dipstick if equipped, otherwise fill until oil just starts to weep from the fill/level plug hole). Do not overfill.
- Install and seal the fill plug correctly (see Step 3C).
-
Test & Monitor:
- Perform LOTO removal procedure safely.
- Run the hoist unloaded through its full range of motion for several minutes. Слушайте необычные шумы.
- Inspect Thoroughly: Shut down, LOTO again, and meticulously check the repaired area and all other potential leak points for any sign of fresh oil seepage.
- Initial Load Test: Carefully lift a light load, then progressively increase to rated capacity, monitoring closely for leaks, unusual sounds, or performance issues. Never stand under the load.
- Monitor: Check the repair area frequently over the next several operating hours and days. Keep the area clean to spot any new leaks early.


Prevention Tips:
-
Регулярные проверки: Include oil level/condition checks and visual inspections for leaks in your maintenance routine.
-
Use Correct Fluids: Always use the oil specified by the manufacturer.
-
Avoid Overfilling: Check levels according to the manual.
-
Proper Sealing: Always use the correct sealant or thread method when reinstalling plugs/fittings.
-
Prevent Overheating: Don’t overload or continuously cycle the hoist excessively, as heat degrades oil and seals.
Fixing an oil leak requires patience, cleanliness, and the right parts. Prioritizing safety and precision will get your electric hoist back to reliable, leak-free operation. Когда сомневаешься, seek professional help – it’s an investment in safety and equipment longevity.