
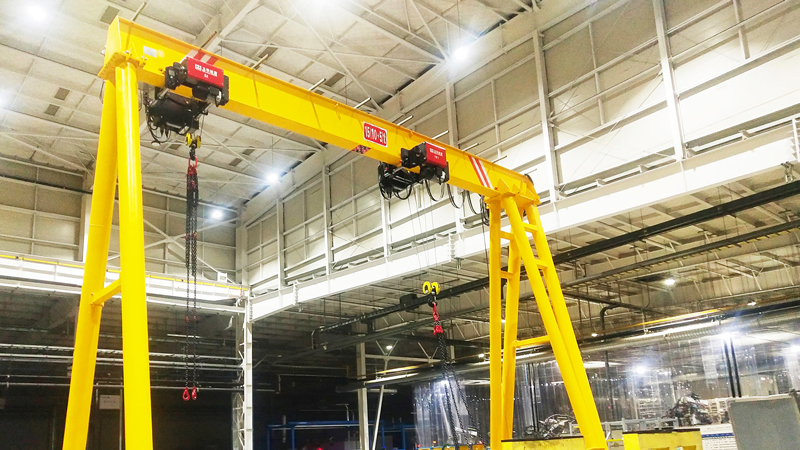
So, you've built (or are planning to build) your own DIY gantry crane. Fantastic! That sturdy steel frame is ready to handle serious weight. But let's be honest, cranking heavy engines, เครื่องจักร, or materials up by hand gets old fast. That's where the magic of an Electric Hoist Kit comes in – it transforms your static frame into a powerful, efficient lifting machine.
แชทออนไลน์1. ใช้งานได้อย่างง่ายดาย: Lift hundreds or thousands of pounds with the simple press of a button. Save your back and your energy.
2. การควบคุมที่แม่นยำ: Fine-tune positioning for delicate tasks. Many kits offer variable speed control.
3. Increased Productivity: Lift, move, and lower loads significantly faster than manual methods.
4. ความปลอดภัย (When Used Correctly): Reduces strain and fatigue, minimizing the risk of accidents caused by slipping or improper lifting technique.
5. Essential for Heavier Loads: Manual chain hoists become impractical and unsafe beyond a certain weight.

Typically, a kit designed for a gantry crane includes the core components you need to motorize your lifting:
1. ที่ รอกไฟฟ้า: The workhorse. This houses the electric motor, กระปุกเกียร์, lifting mechanism (chain or wire rope), and hook.
2. The Trolley: This is the crucial part that allows the hoist to travel horizontally along the top beam (I-beam) of your gantry crane. Kits usually feature a geared trolley (you push/pull the load to move it) or a motorized trolley (moves side-to-side electrically – more expensive but highly convenient).
3. Control Pendant: The handheld remote (wired or wireless) that lets you operate the hoist (ขึ้น/ลง) และ, if included, the motorized trolley (left/right).
4. Mounting Hardware: สลักเกลียว, nuts, and potentially spacers needed to securely attach the trolley to your crane’s beam and the hoist to the trolley.

1. กำลังรับน้ำหนัก (SWL – Safe Working Load): This is NON-NEGOTIABLE.
Know your crane’s capacity: Your DIY crane structure must be rated for the weight you intend to lift, including the weight of the hoist and trolley itself.
Choose a hoist kit rated BELOW your crane’s capacity. Never exceed the lowest rated component (beam, legs, hoist, รถเข็น). If your crane is rated for 1 ตัน (2000 ปอนด์), choose a hoist kit rated for 1 ton or less. Factor in the kit’s weight (often 50-150 ปอนด์).
Be Realistic: Err on the side of caution. Future-proofing is good, but don’t drastically over-spec if you won’t need it.
2. ยกสูง:
Measure the maximum height you need to lift objects from the floor to where the hook will be at its highest point under your crane beam.
Ensure the hoist’s chain/wire rope length provides this lift height plus sufficient extra for hook approach and safety (never let the hook block hit the hoist!).
3. Beam Compatibility (Trolley Fit):
วิกฤต! Measure the width (flange to flange) and height of the top flange of your crane’s I-beam accurately.
The trolley wheels must fit securely on the beam flanges. Kits are designed for specific beam dimensions or ranges. Getting this wrong means the trolley won’t fit or will be unsafe.
4. Lifting Medium:
Chain Hoist: More common in smaller/medium kits (ขึ้นไป 2-3 ตัน). กะทัดรัด, generally lower headroom, ทนทาน, but can be noisier. Look for grade 80 or higher alloy chain.
รอกสลิงไฟฟ้า: Smoother operation, often used for heavier capacities (2 tons+), quieter, but requires more headroom for the drum. Needs periodic inspection for fraying.
5. แรงดันไฟฟ้า: Standard options are 110V/120V (common household in NA) or 230V/240V. Choose what matches your workshop supply.
6. Trolley Type:
Geared Trolley: Most economical. You manually push/pull the load along the beam. Requires some effort, especially with heavy loads.
Motorized Trolley: Adds significant convenience and control. Operated via the pendant. Ideal for frequent lateral movement or precise positioning. Adds cost, weight, and complexity.
7. Control Pendant:
แบบมีสาย: Reliable, no batteries. The cable can sometimes get tangled.
Wireless: Greater freedom of movement. Requires battery management. Ensure it has good range and safety features.
READ THE MANUAL: Thoroughly for both the hoist kit AND your crane structure.
Secure Mounting: Bolt the trolley firmly to the beam according to specs. Ensure the hoist is correctly mounted to the trolley. Use lock washers or thread locker.
Structural Integrity: Double-check all welds and connections on your DIY crane ก่อน loading it with the hoist kit and lifting.
Electrical Safety: Have a qualified electrician connect the hoist to power if you’re unsure. Use appropriate circuit breakers/fuses. Ensure proper grounding.
Clearance: Verify ample clearance around the crane for lifting and moving loads. Watch for overhead obstructions.
Never Exceed SWL: This includes the combined weight of the load, สลิง, ห่วง, and the hook block.
No Side Pulling: Lift vertically. Pulling a load sideways puts immense, dangerous stress on the hoist, รถเข็น, and beam.
Inspect Regularly: Check chains/wire ropes, ตะขอ, เบรก, controls, and structural components before every use. Look for wear, ความเสียหาย, or deformation.
Wear PPE: Safety glasses and steel-toe boots are minimums.
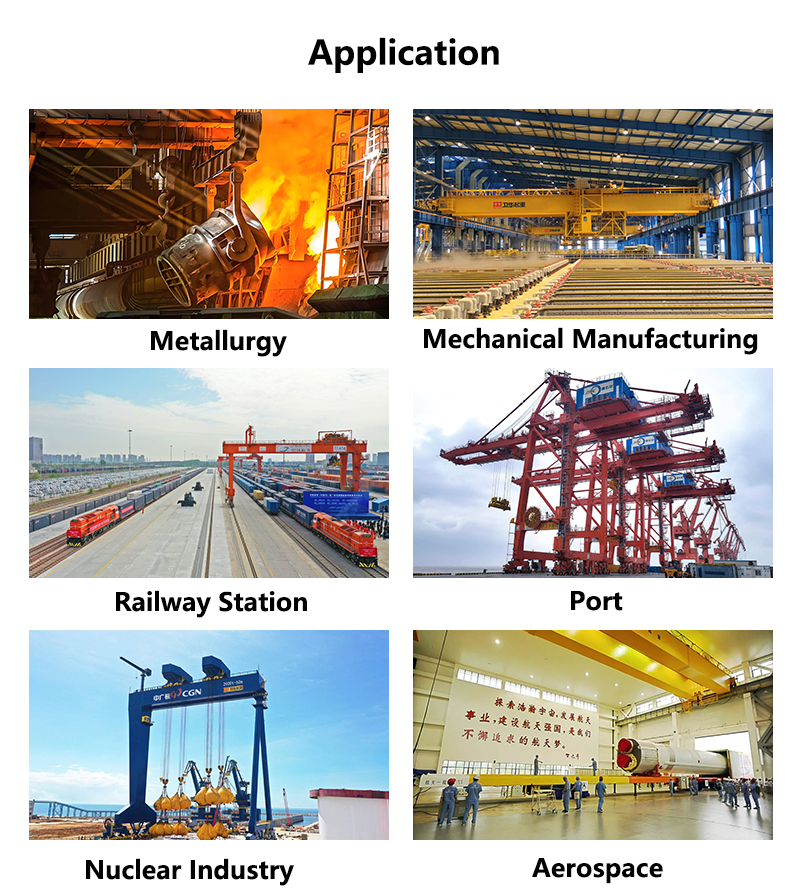
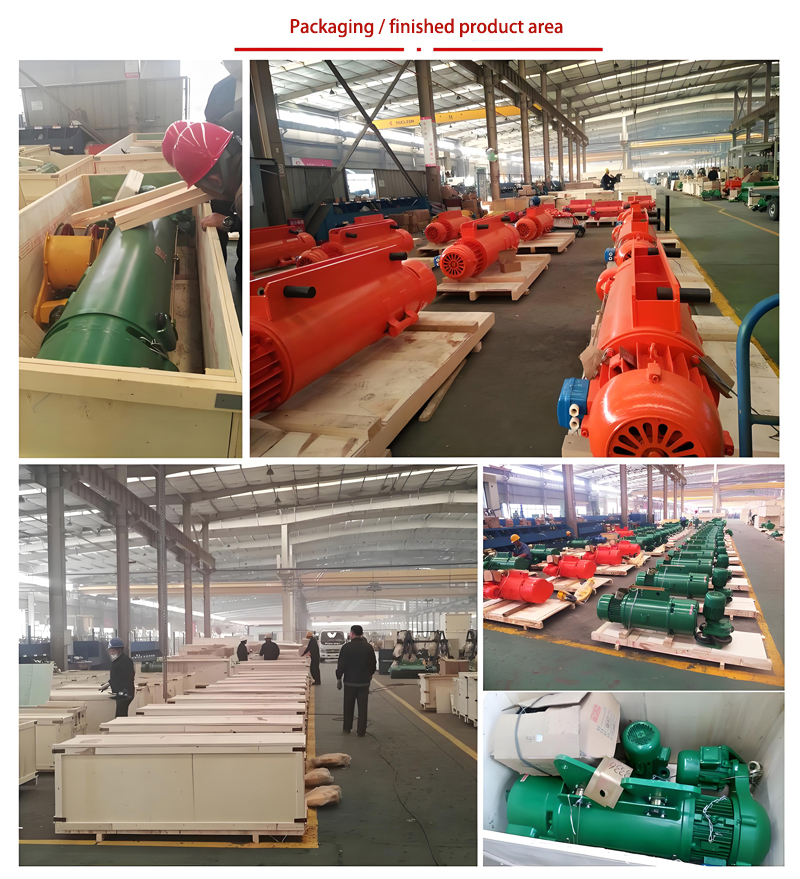
Adding a well-chosen electric hoist kit to your DIY gantry crane is a game-changer. It elevates your workshop capability from “can lift” to “can lift easily, safely, and efficiently.” It unlocks projects you might have avoided and saves you countless hours of strain. Just remember: Safety is not an option, it’s the foundation. Choose wisely, install meticulously, operate carefully, and enjoy the incredible power now at your fingertips (or rather, your pendant button)!
เราให้ความสำคัญกับความคิดเห็นของคุณ! กรุณากรอกแบบฟอร์มด้านล่างเพื่อให้เราสามารถปรับแต่งบริการของเราให้ตรงกับความต้องการเฉพาะของคุณ.
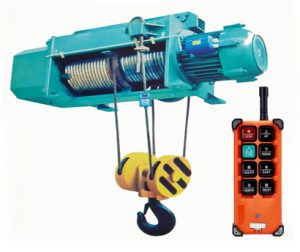
ในด้านการยกอุตสาหกรรม, ความต้องการตำแหน่งที่แม่นยำ, การทำงานที่ราบรื่น……
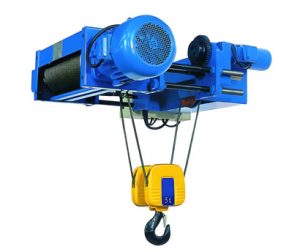
คุณสมบัติหลักของรอกไฟฟ้าสำหรับงานหนัก ✅ความสามารถในการยกสูง:Weihua เครื่องใช้ไฟฟ้าหนัก……
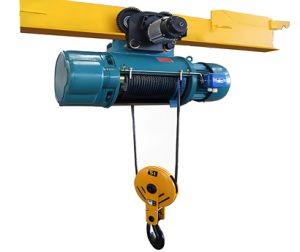
รอกไฟฟ้าสำหรับการก่อสร้างของ Weihua เป็นโซลูชันการยกประสิทธิภาพสูงที่ออกแบบทางวิศวกรรม……
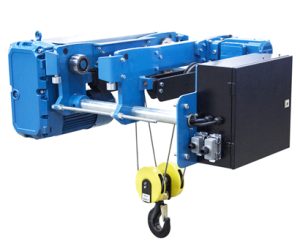
คุณสมบัติผลิตภัณฑ์รอกไฟฟ้าบริดจ์ 1. โครงสร้างที่แข็งแกร่ง: สร้างขึ้นด้วยความแข็งแกร่งสูง……
